Step-by-Step Guide to Using the Coinlend DeFi Wizard
Getting Started
Before diving into the lending or borrowing process on Coinlend DeFi, ensure the following prerequisites are met:
- Install Metamask: If you haven't already, install the Metamask extension on your browser and set up your wallet.
- Log in to Metamask: Make sure you're logged into your Metamask wallet to interact with Coinlend DeFi.
- Connect Your Wallet: Upon opening Coinlend DeFi on your web browser, locate the "Connect" button on the top right corner of the platform. Click this button to connect your Metamask wallet to Coinlend DeFi. This step is crucial for enabling transactions and interactions with the platform.
Once connected, you're ready to start the process of lending or borrowing on Coinlend DeFi, equipped with various coins supported by the platform. Make sure you have some cryptocurrency in your Metamask wallet to proceed.
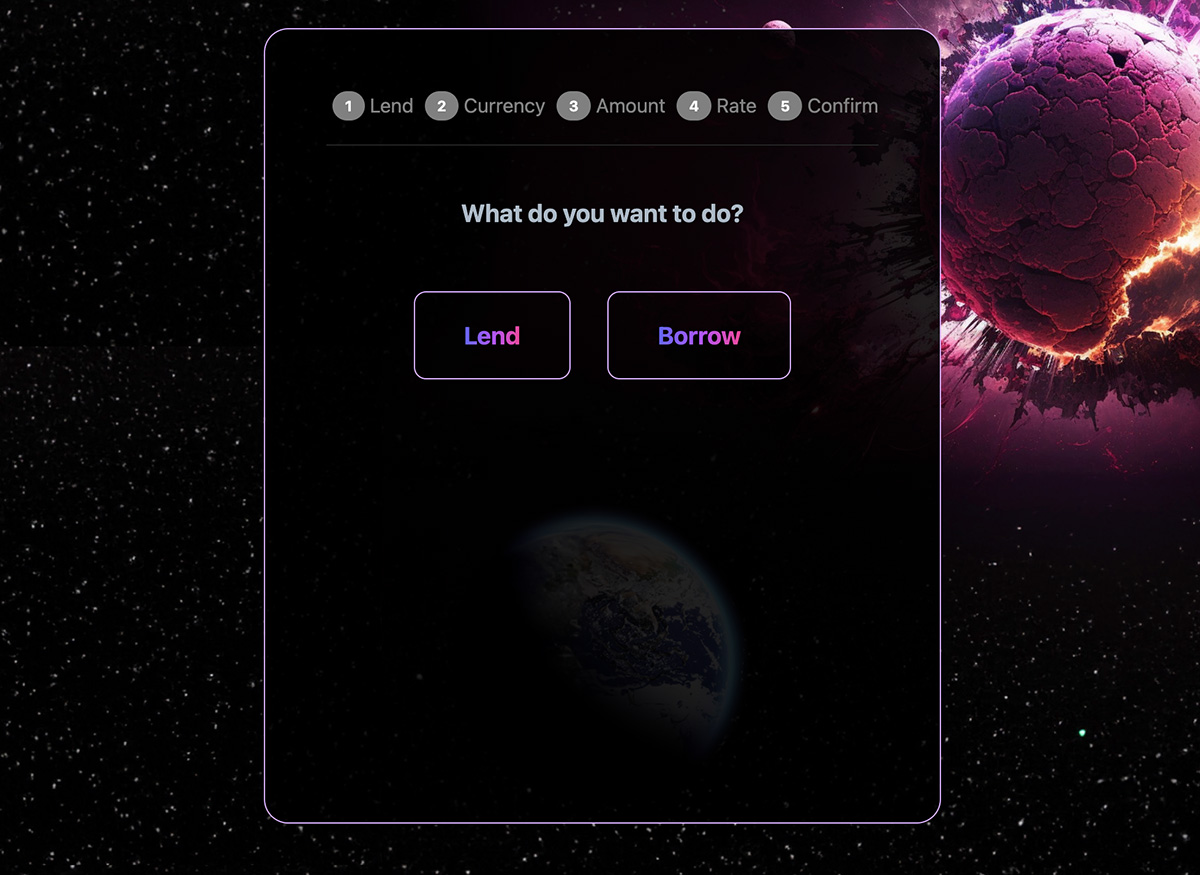
Step 1: Choose Lend or Borrow
- Access Coinlend DeFi: Open Coinlend DeFi on your web browser.
- Start the Process: On the main page, you'll see two buttons: "Lend" and "Borrow."
- Select Your Action:
- If you wish to lend funds, click on the "Lend" button. This will initiate the process for creating a loan offer.
- If you wish to borrow funds, click on the "Borrow" button. This will start the borrowing process.
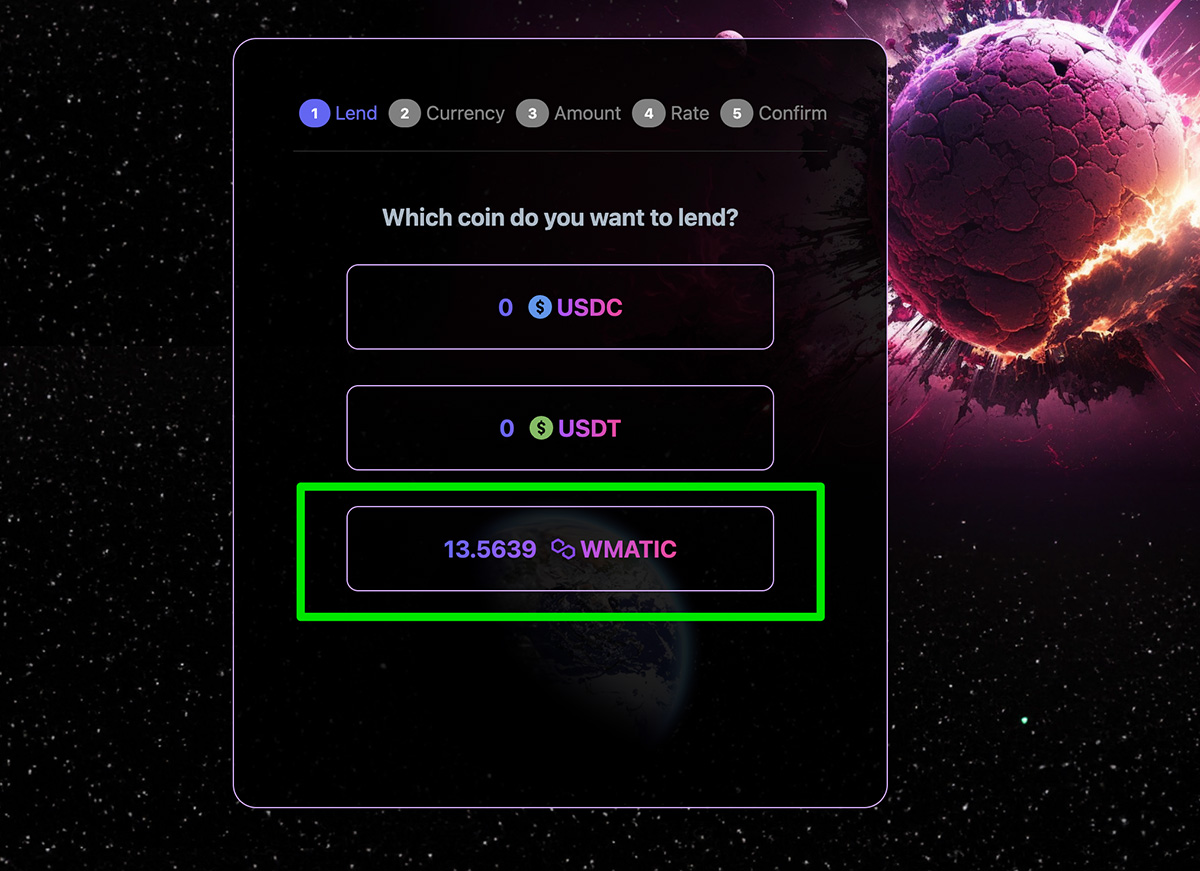
Step 2: Choose Coin to Lend
- View Available Coins: The wizard will display a list of cryptocurrencies that you can lend. This list includes the balance available in your Metamask wallet and any coins already deposited to the contract.
- Select a Coin: Choose the coin you wish to lend. Make sure to consider the balance you have available to ensure you can cover the loan you want to offer.
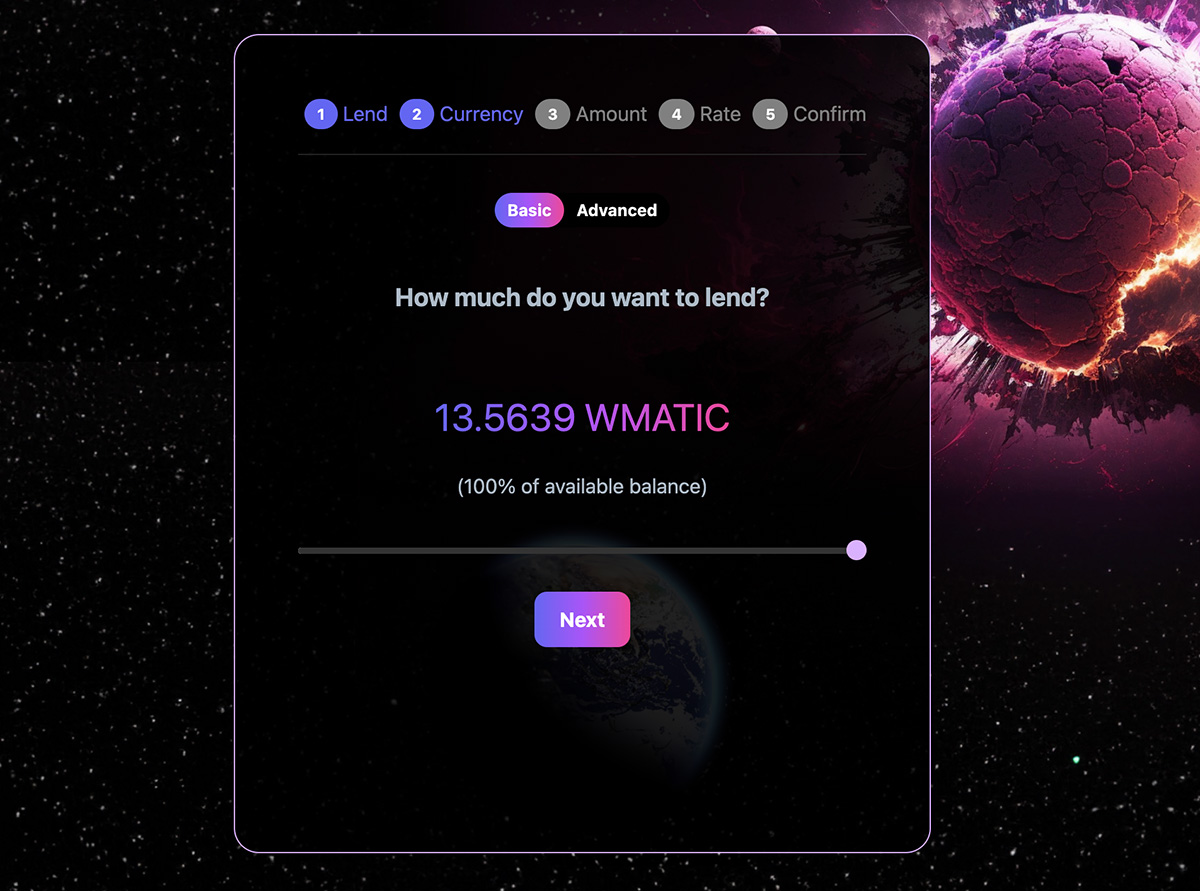
Step 3: Choose How Many of Your Funds to Lend
- Use the Slider: Adjust the slider from 1% to 100% to quickly set the percentage of your selected coin's balance that you wish to lend.
- Or, Use the Advanced View: For more precision, switch to the advanced view and enter the specific amount of the coin you want to lend in the input field.
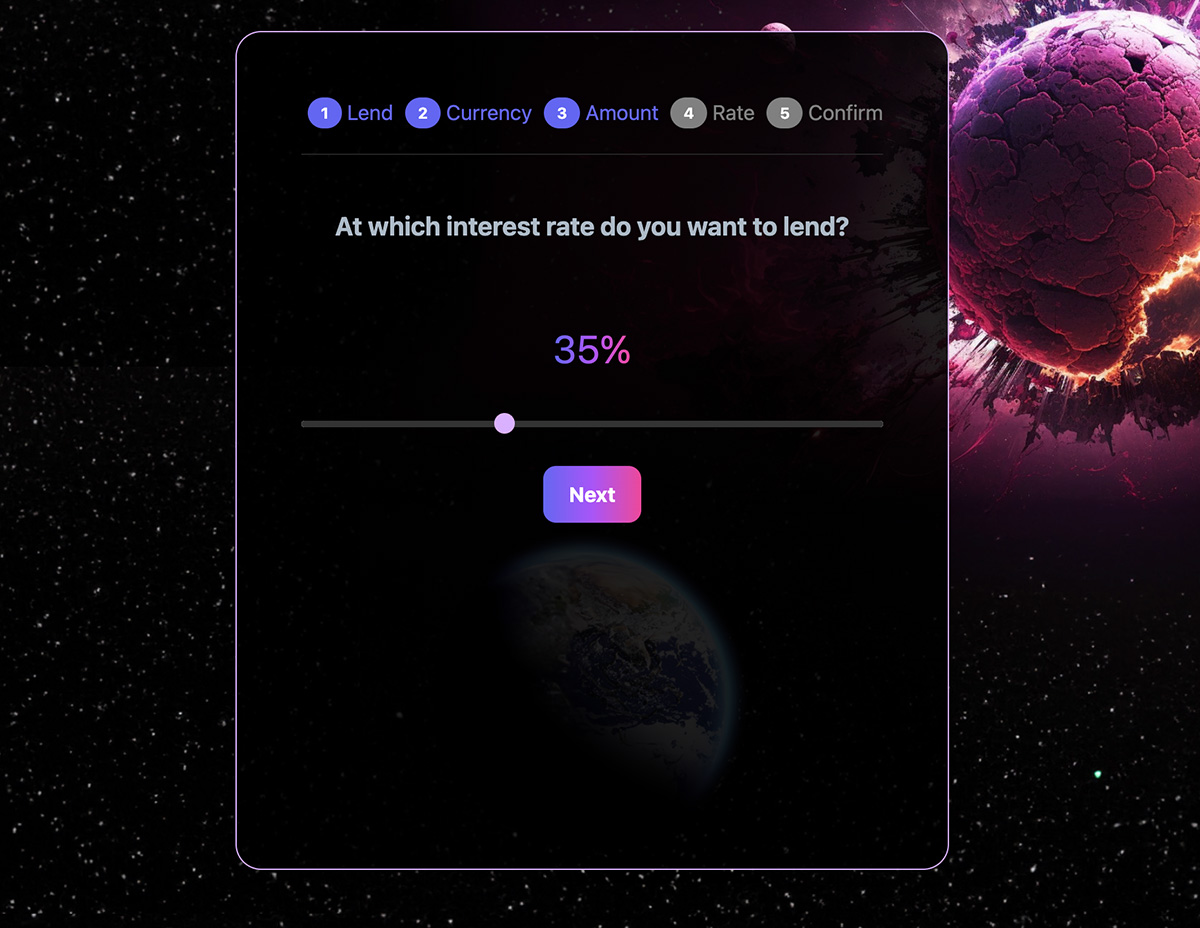
Step 4: Choose an Interest Rate
- Determine the Rate: Decide on the interest rate you want to apply to the loan. This rate will affect the attractiveness of your loan offer to potential borrowers, so choose wisely based on current market conditions and your desired return.
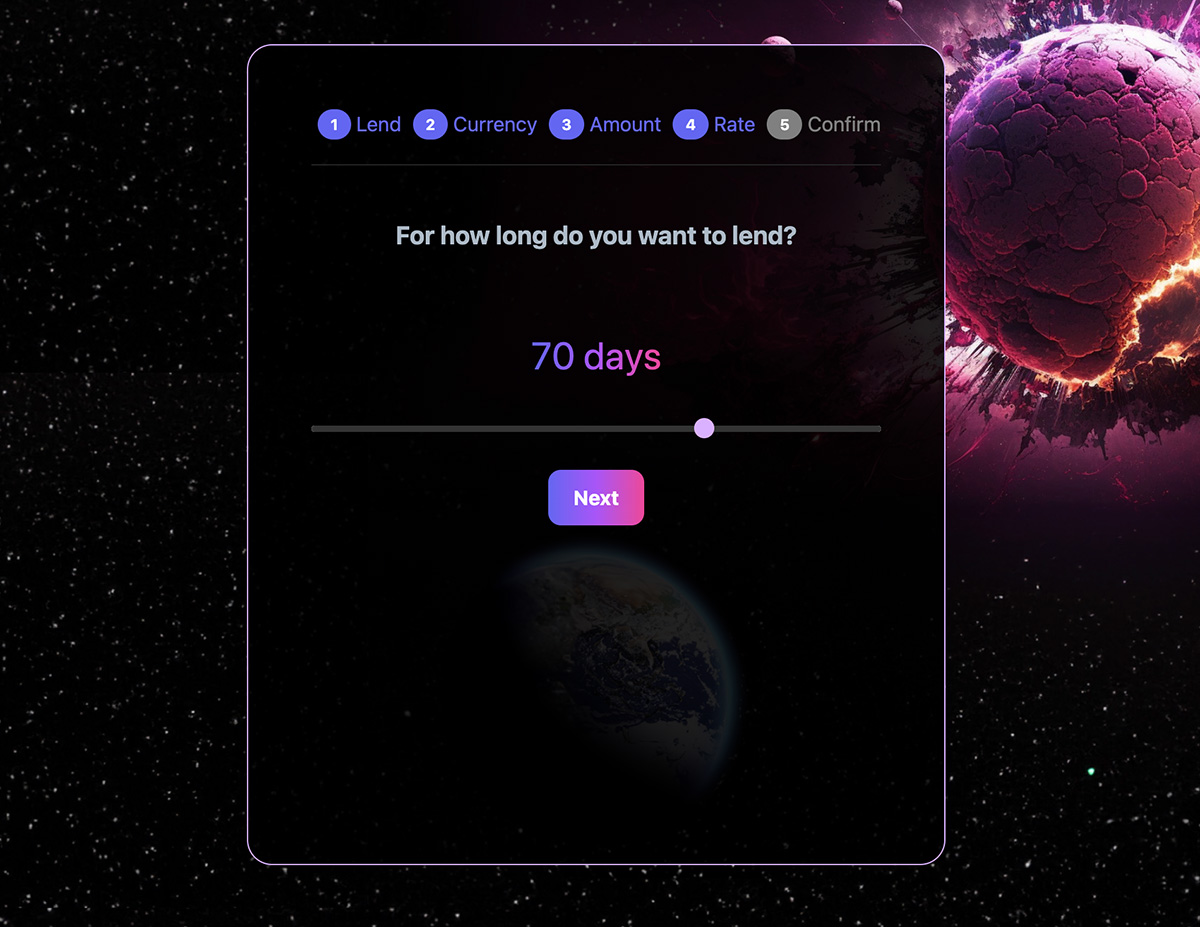
Step 5: Choose a Loan Duration
- Select Duration: Choose how long the loan will last, from 1 to 100 days. Consider the duration that best suits your investment strategy and the likelihood of repayment within this timeframe.
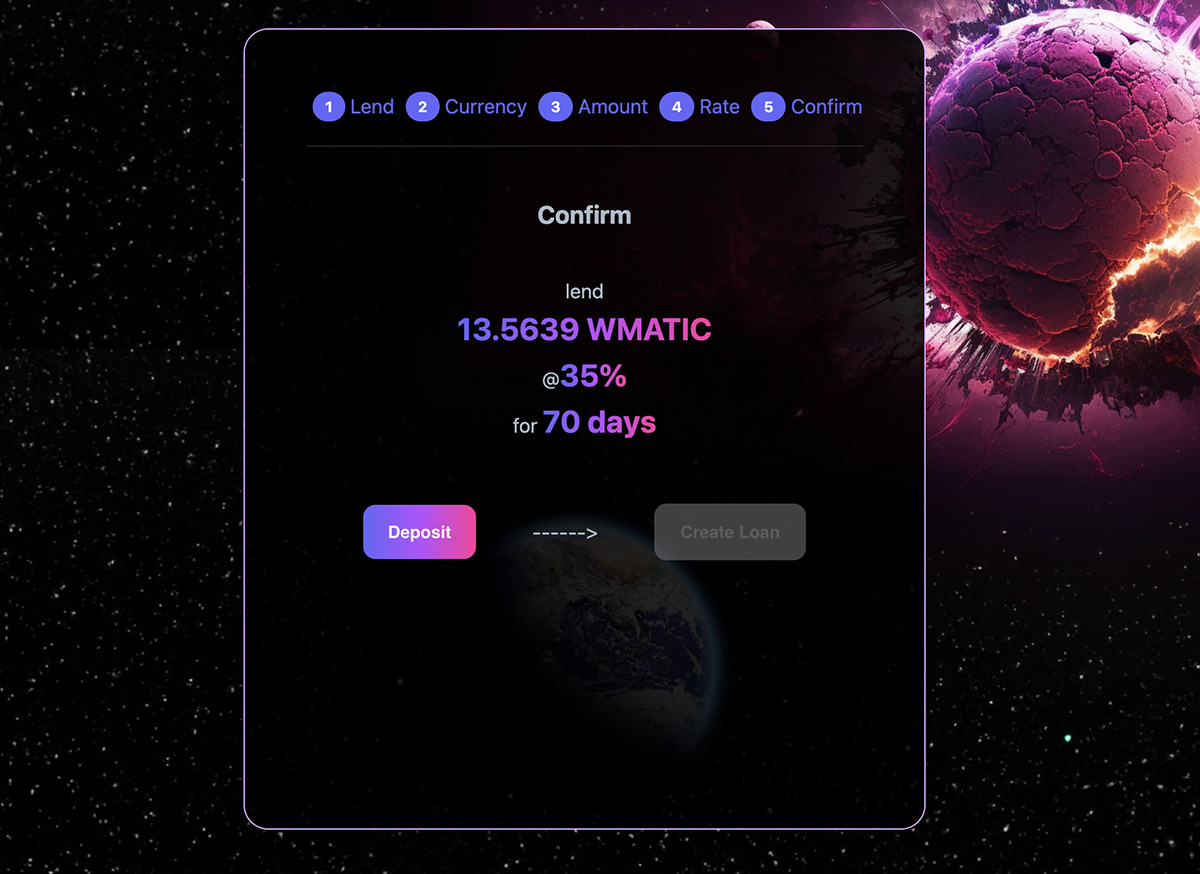
Step 6: Confirm the Loan Offer Creation
- Review Your Offer: Check all the details of your loan offer, including the amount, interest rate, and duration, to ensure they are correct.
- Deposit Funds if Necessary: If you haven't deposited enough funds into the contract to cover the loan, use the provided button to deposit the necessary amount from your Metamask wallet.
- Confirm the Offer: Once everything is in order, confirm the creation of your loan offer. This may require you to approve the transaction in your Metamask wallet.
Finalizing the Process
After confirming, Coinlend DeFi will process your loan offer, making it available for borrowers. You can monitor the status of your loan offers and any active loans through the platform's dashboard.
Remember to keep an eye on your Metamask wallet for any notifications requiring your approval throughout this process, especially during fund deposits and the final confirmation step.